Supplies needed:
- Squeegee
- Application Fluid in spray bottle (mixture of 1 teaspoon of liquid soap in 1 litre of water)
- Kitchen paper towel
Each decal consists of 3 layers:
- Top layer (application tape)
- Middle layer (decal)
- Bottom layer (backing wax paper)
Preparation:
Clean application surface thoroughly with application fluid. Do not use any products that contain wax as this will prevent the glue adhering. Ensure no bits of dirt are left.
Application:
- Clean application surface thoroughly with application fluid. NOTE: NEVER USE AMMONIA BASED CLEANERS. It will out gas for a couple of weeks and create bubbles under the decal which will result in accidental decal peeling.
- Place decal on car area to visual the exact final location of your decal. This will prevent any unwanted positioning of final decal position.
- Use application fluid to spray the surface area where the sticker will be installed on. Make sure the surface area is completely sprayed down.
- Remove backing wax paper, exposing the adhesive side of the decal and spray the application fluid onto the adhesive side of the decal.
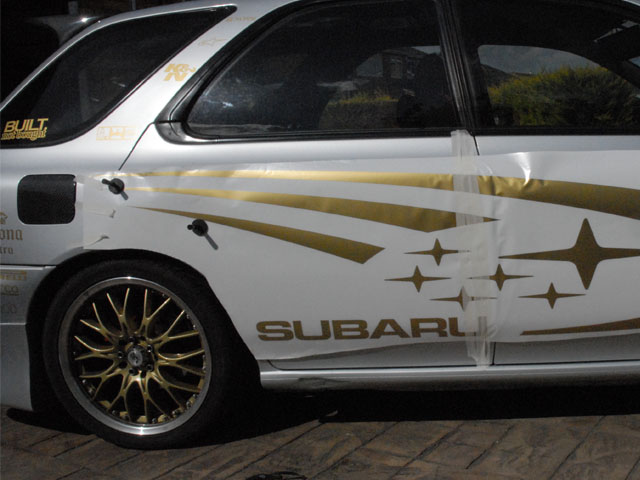
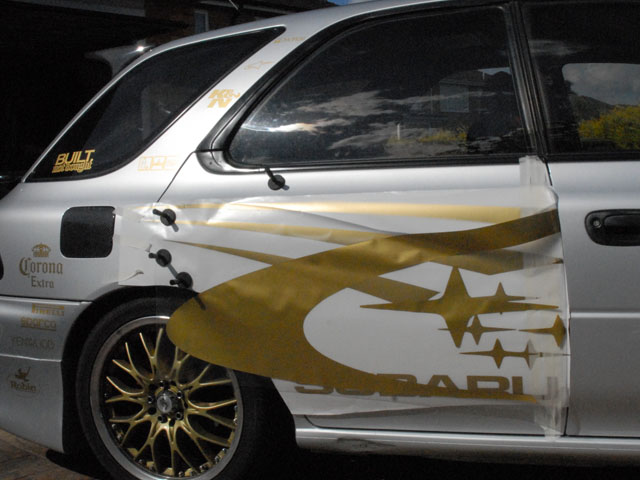
- Apply the adhesive side of the decal to the surface. Now you can adjust and readjust the decal without damaging it.
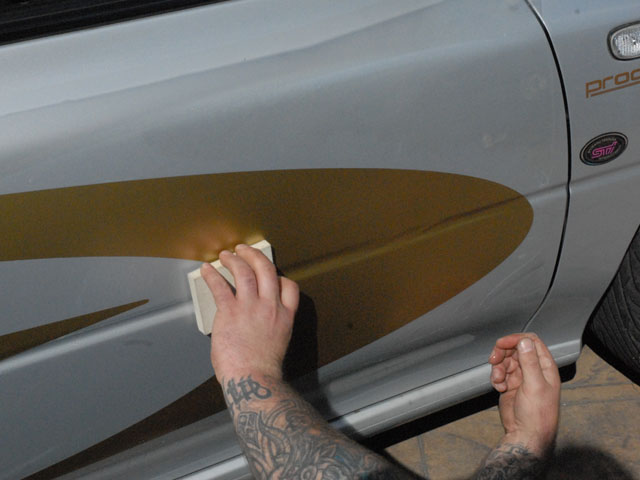
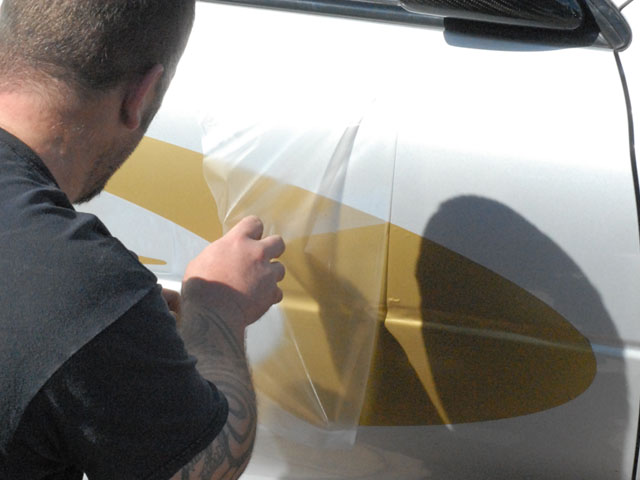
- Squeegee out the fluid and bubbles starting from the center and ending at the edges. This will ensure that excess fluid will be removed. Repeat this a few times until you remove most of the application fluid between the decal and the surface.
- Spray the top of the sticker’s backing tape to neutralize the tape’s glue. Then squeegee again. Do not pull up on the backing paper. This may cause the decal to lift up.
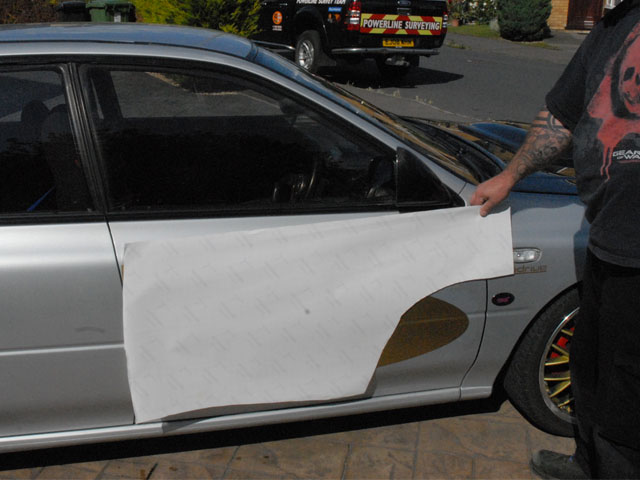
- Wait about 1/2 to 1 full hour depending on the outside temperature. If you do not want to wait you can use a hair dryer and go lightly over the decal. After the decal has dried gently remove application tape by pulling straight back, leaving the decal on the surface. If decal comes off with the application tape (Top Layer), re-apply decal with squeegee (Step 6), and wait about 1/2 hour before attempting to remove application tape again.
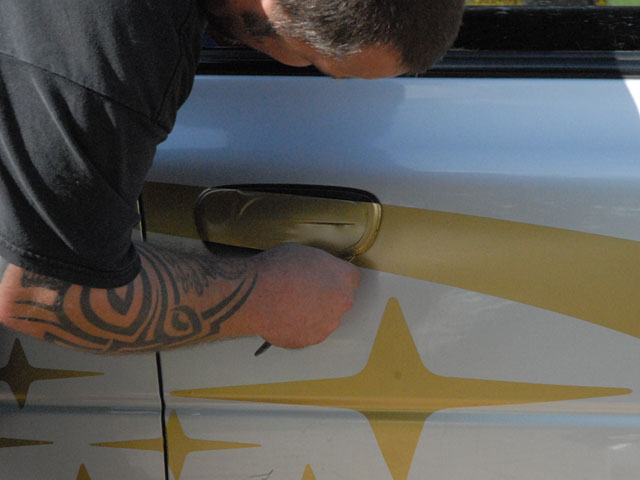
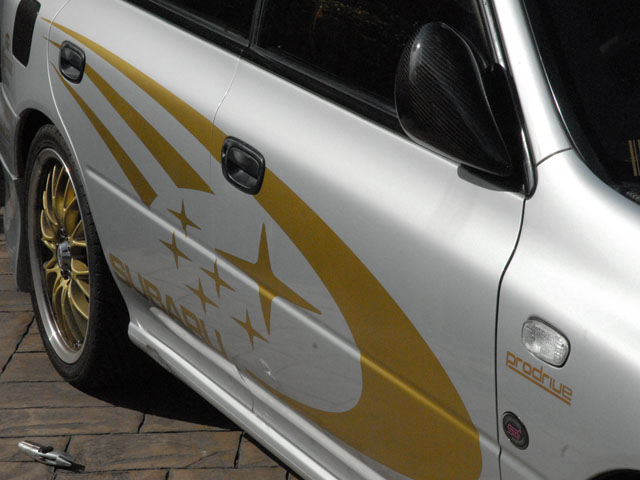
- Trim all edges, bonnet, doors, etc. of excess vinyl with razor. Use razor to cut between doors, petrol cap, etc. Use blow dryer or heat gun to carefully dry and tuck in edges. Spray application fluid on the installed decal and squeegee again while wet. This will remove any leftover bubbles. Let decal sit for 24 hours before washing and waxing, or driving in inclement weather (rain/snow/freezing temp). Your vehicle is still drive-able; the decals will not fly off.